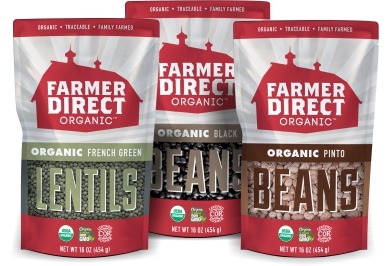
This month, we’re again featuring wholesome products from Farmer Direct Coop Organic, people well-schooled in the discipline of organic farming — not the easiest way, but the best way to bring us good eats!
Farmers Direct Coop has historically played a major role in identifying and standardizing the quality parameters that define organic food, from production methods to equitable price control, and thus are true veterans of their field.
Try Farmer Direct Organic Pinto Beans, Split Green Peas, and Black Beans.
Seventh Generation Incorporated was established in the U.S. in 1988, in order to satisfy the ever-increasing demand for environment-friendly household cleaning products. Their focus is on sustainability and conservation of natural resources, using biodegradable and chlorine-free ingredients in all the products, and going the extra mile by using recycled materials in the packaging.
Seventh Generation has become the leading vendor of natural, non-toxic household products in the USA.
This month, we’re featuring Seventh Generation Multi-surface Disinfectant Wipes.
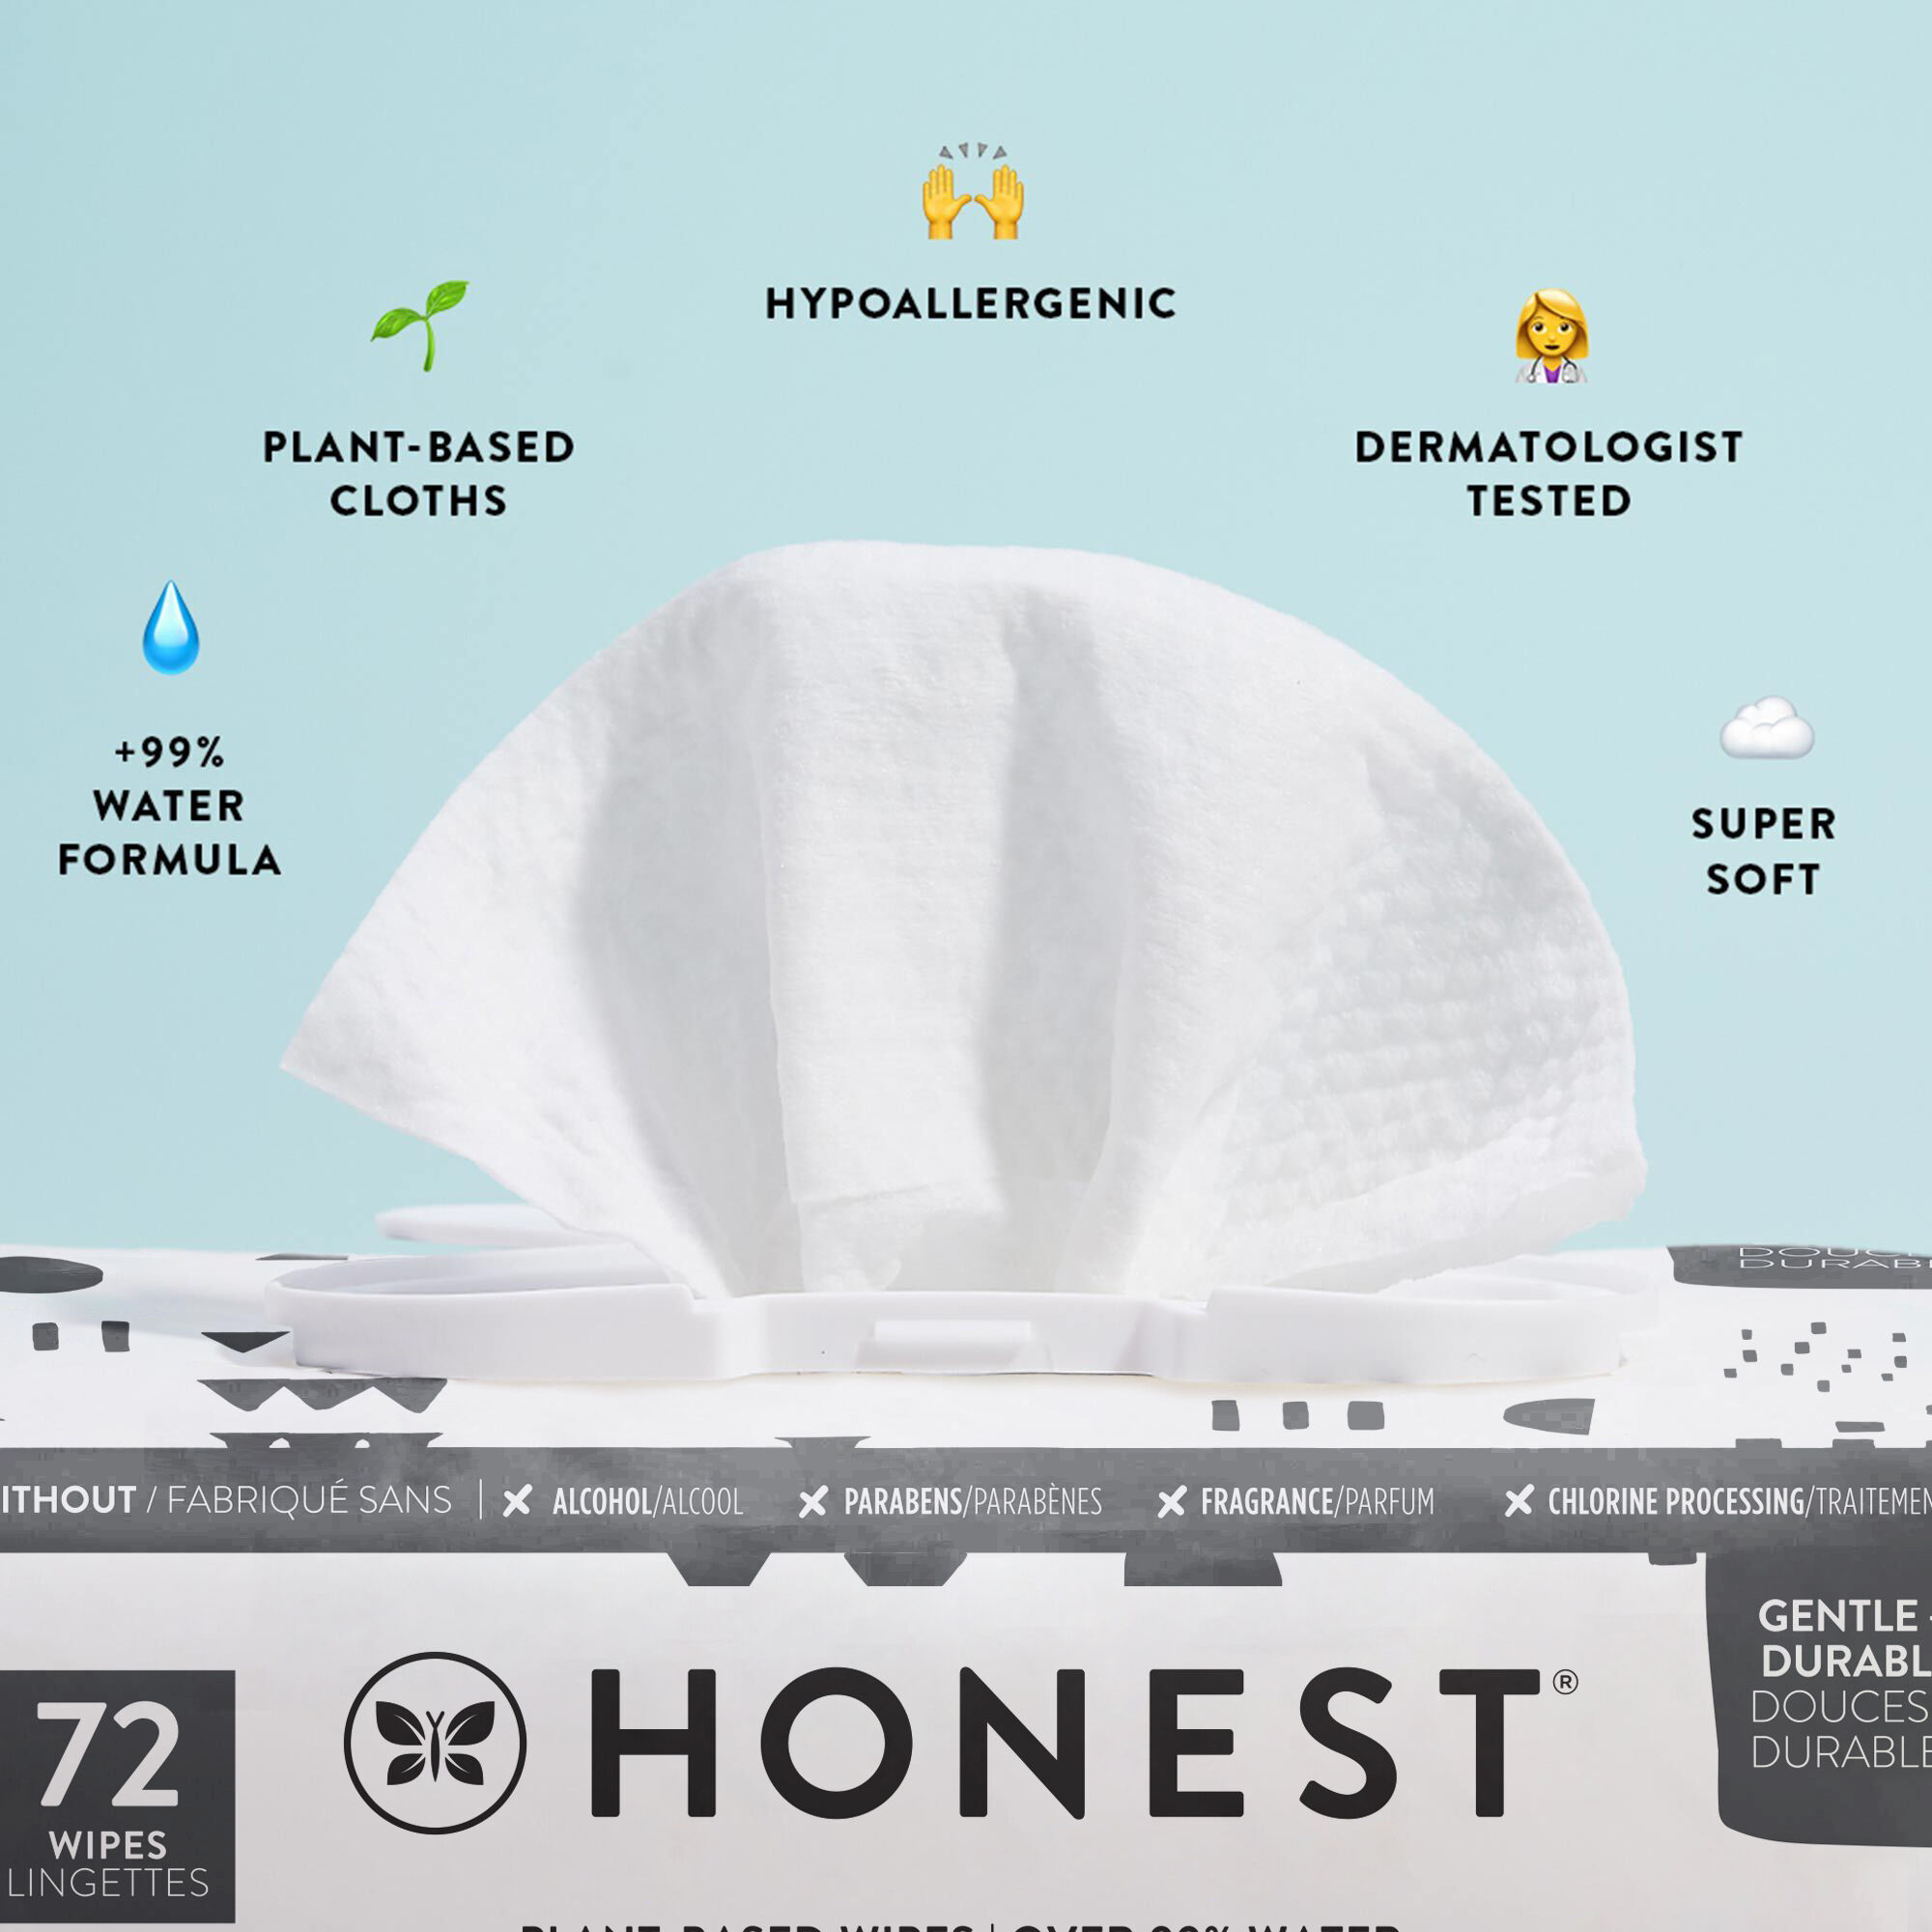
When new mom Jessica Alba discovered she was allergic to baby laundry detergent, she began a thorough search for a safe alternative and met with nothing but frustration. So, she decided to start up her own business, named it The Honest Company, and set out on a mission to promote and provide healthier, safer, and more eco-friendly baby care and skin care products to those with skin sensitivities.
This month, we’re featuring Honest Company All-Natural Cloth Wipes.
By Stephanie Simons, Head Pharmacist, Lindo’s Pharmacy in Devonshire
The holidays are a time to enjoy yourself, something most of us accomplish very well! But this indulgent period is often followed by hangovers, weight gain and low mood that lasts long past the festivities. However – what if I told you there are ways to keep your health in check whilst also revelling in the party season?
No one wants to trade in their Christmas dinner for a leafy salad, but there are little changes you can make to maintain balance, and start the new year feeling good.
Before
Starting the festive season in prime health is one of the best ways to make sure your body bounces back afterwards. In the weeks leading up, pack in the fruit and vegetables to boost your vitamin levels and get a good night’s sleep as often as possible – this will build your immune system and prep you for the coming party time.
The day of an evening gathering or celebration, drink plenty of water to stay hydrated and eat regular balanced meals. Don’t be tempted to skip food to make up for the upcoming alcohol calories – you’ll miss out on key nutrients, and be likely to eat more unhealthy food at the event itself. An empty stomach also makes you more vulnerable to alcohol’s effects, taking you from merrily tipsy to cringeworthy drunkenness.
This is also a good time to check in with your mental health. Do you really want to go to that party? It’s normal to feel a sense of obligation around the holidays, but try to prioritise the activities which make you feel good and don’t be afraid to turn down those unwanted invitations. In a week or two, no one will even remember who attended what.
During
At the party, the key thing is to keep things in proportion. Help yourself to food and drink, but move away from the buffet when you’re done to prevent mindless grazing. Try to limit the booze to one drink per hour and alternate with soft drinks to keep your body hydrated. By keeping track of your drinks, you’re far less likely to have one too many – and feel the consequences the next day.
While large feasts are a staple of the season, heartburn and lethargy certainly shouldn’t be. Try to eat slowly and mindfully, savouring each bite and stopping when you’re no longer hungry – rather than when you’re full. Balance your plate with Christmas vegetables and try a short walk after dinner to keep your digestion running smoothly.
After
Ah, the dreaded morning after.
If you can stomach a cooked breakfast, reach for mushrooms – full of energy-giving B vitamins – tomatoes for their immune-boosting Vitamin C, spinach for its DNA-repairing folate, chilli or cayenne pepper to get your blood flowing, and onions, which soothe your liver with their sulphur compounds. Smoothies are also a great way to kickstart your body after a big night – pack yours with potassium-rich fruits like banana or orange to replenish the electrolytes lost through your alcohol intake.
We all love leftovers, but if they’re not safe – don’t do it! December sees a peak in food poisoning as people pick at food that’s been left out. Make sure you’re only reaching for food that’s freshly cooked or straight from the fridge.
Still feeling rough?
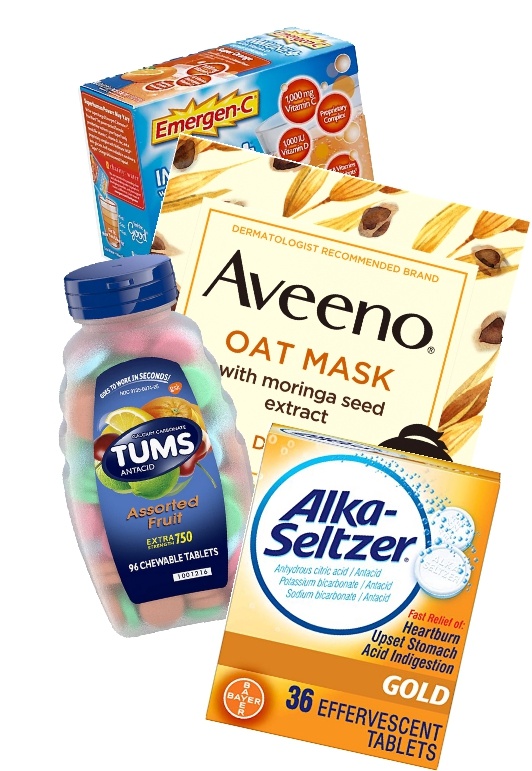
Even with the best intentions, we can all fall foul to festive temptation. Luckily, your friendly pharmacy is here to help. Eaten too much? Try Tums, Omeprazole or Famotidine to beat indigestion and heartburn. Hangover from hell? Reach for a rehydration sachet like Nuun, Emergen-C or Berocca to boost your electrolytes, and a stomach-friendly painkiller like Tylenol or Alka-Seltzer Gold if that head just won’t stop banging.
Vitamins B and C are particularly important during holiday festivity – try Berocca and B-Complex+C to keep your levels nicely topped up – and why not treat yourself to a quick face mask like Aveeno Oat Mask Detox or St. Ives Fresh Skin or Energizing Scrub to boost morale after one party too many.
The holidays are a great time to reconnect with loved ones and enjoy our favourite traditions. But with these few little tweaks, you can also avoid the January slump. If you are feeling unwell or in need of medical attention, always seek advice from your GP or pharmacist.
Stephanie Simons is the head pharmacist at Lindo’s Pharmacy in Devonshire. She earned her Bachelor of Science in Pharmacy at Massachusetts College of Pharmacy and has been practicing for over 20 years. She is a registered pharmacist with the Bermuda Pharmacy Council and is a member of the Bermuda Pharmaceutical Association.